
Ecommerce Development
Shopify Inventory Audit: How to Reconcile Physical Stock With Shopify Numbers
Shopify Inventory Audit: How to Reconcile Physical Stock With Shopify Numbers
08 min read
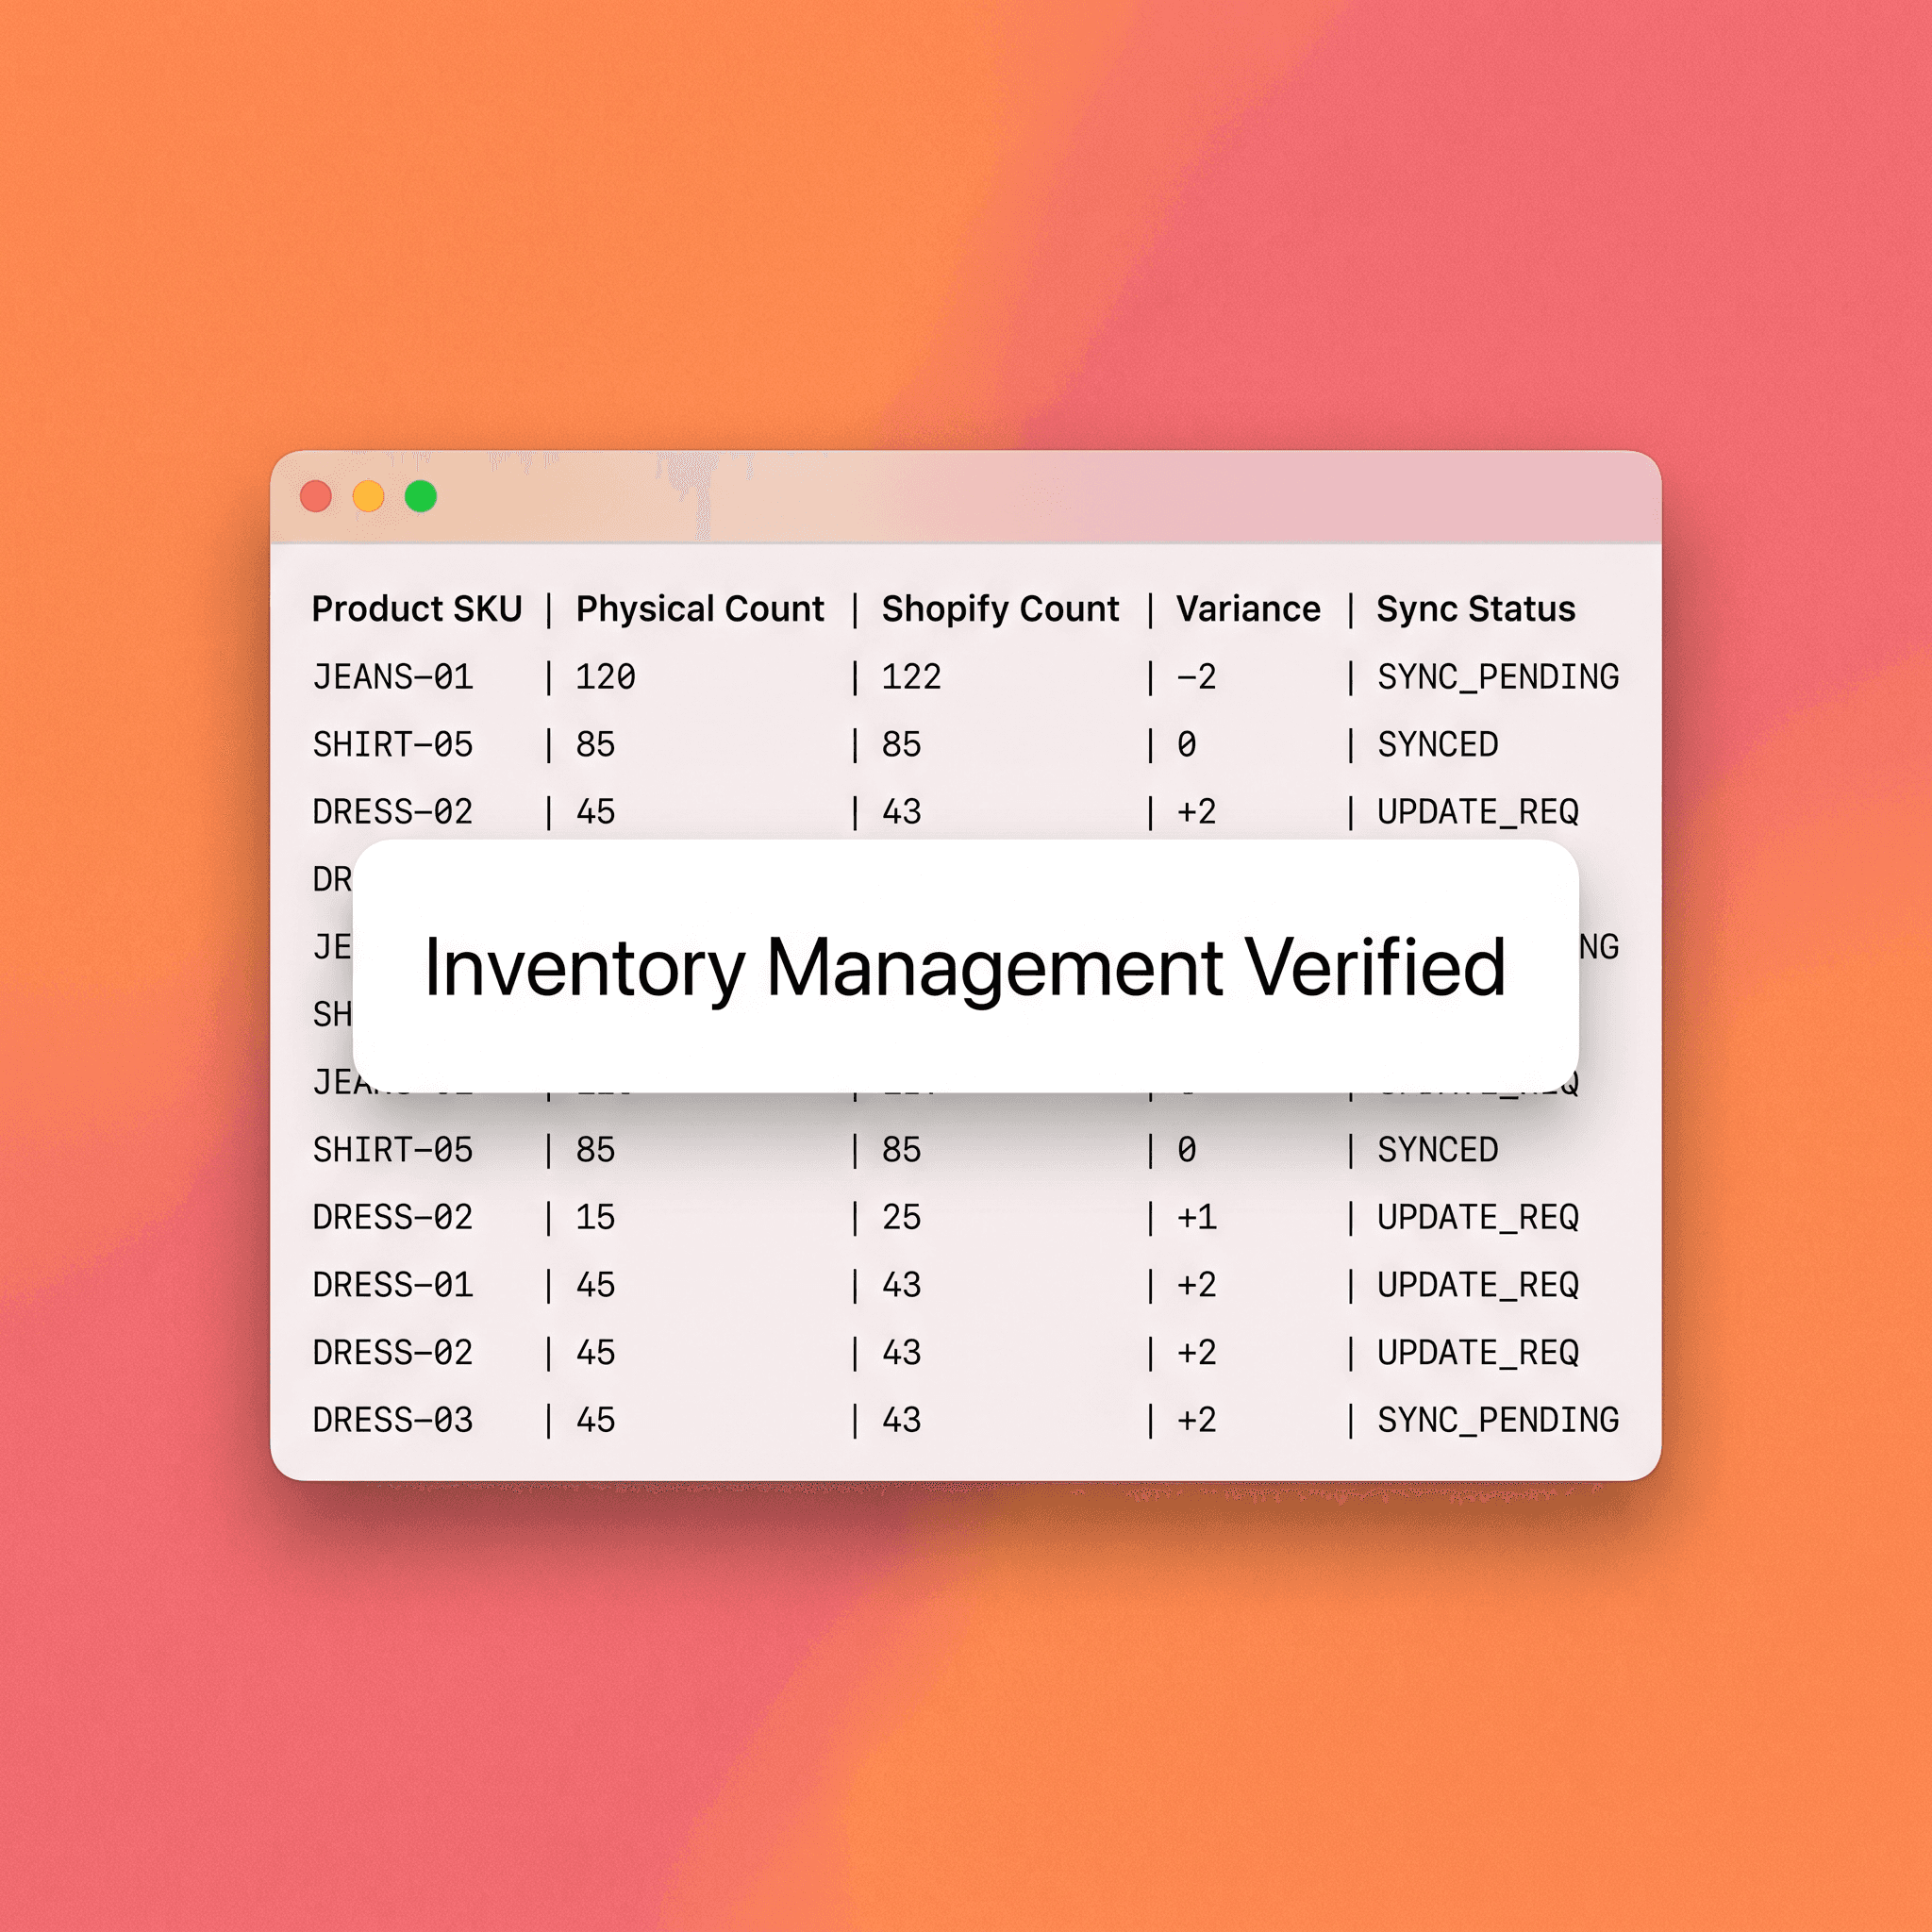
A Shopify inventory audit is one of the most important — and most avoided — tasks in D2C operations. When your physical stock count and your Shopify numbers don't match, everything downstream gets distorted: fulfillment accuracy, reorder timing, revenue forecasting, and customer experience all take a hit. By neglecting this critical operational cadence, brands often find themselves plagued by chronic overselling, stockouts on top-sellers, and unexpected budget gaps that complicate financial reporting. This guide walks through a practical, repeatable process for reconciling physical stock with Shopify records. No guesswork, no manual chaos. Just a clear framework you can run quarterly or whenever your numbers stop adding up. Establishing this baseline is the foundation of high-growth operations, ensuring that your digital storefront always reflects the tangible reality of your warehouse or retail floor.
Why Shopify Inventory Numbers Drift From Physical Reality
Shopify tracks inventory based on transactions — sales, returns, manual adjustments, and third-party app syncs. The problem is that physical stock is messier than any system expects. Because retail environments are subject to human error, environmental factors, and complex supply chain logistics, the data input into your system often lags behind the physical state of your inventory. Relying purely on automated logs without periodic human-led validation creates a data-reality gap that widens significantly over time, especially as transaction volume scales across multiple sales channels.
Common sources of discrepancy include:
Unlogged receiving errors — items received but not scanned in during high-volume intake periods.
Returns processing failures — items processed in Shopify but not physically restocked or categorized as sellable.
Informal write-offs — damaged or lost items written off informally without generating a corresponding adjustment record.
App sync conflicts — data collisions between Shopify and a 3PL, ERP, or specialized inventory management tool.
Manual override errors — inventory adjustments made in the backend without proper documentation or intent.
Shrinkage and theft — loss events that physically deplete stock without triggering a corresponding system update.
Complex bundle mapping — scenarios where component-level stock isn't decremented correctly when a bundle is sold.
None of these are unusual. They accumulate. A brand doing reasonable volume can end up with hundreds of units of phantom inventory — stock Shopify thinks exists but physically doesn't — or ghost stock, which is inventory on the shelf with no corresponding Shopify record. Both types will cost you, just in different ways. Phantom inventory results in order cancellations and negative customer sentiment, while ghost stock results in lost revenue opportunities and potential warehouse space mismanagement.
The SSRD Audit Framework: A Four-Stage Reconciliation Process
The SSRD Audit Framework is a structured approach to Shopify inventory reconciliation built for D2C operators who need accuracy without weeks of disruption. By compartmentalizing the audit into distinct stages, you ensure that every data point is verified before an adjustment is finalized, thereby maintaining a pristine historical ledger. This methodology moves from discovery to execution, ensuring you address the symptoms of your inventory management issues while systematically working to resolve the underlying process failures that allowed them to occur.
The four stages are: Stock → System → Root Cause → Decision.
Stage 1: Stock — Run a Full Physical Count
Before touching Shopify, count what you actually have. A system reconciliation without a verified physical baseline is just rearranging numbers. This initial phase requires rigorous discipline to capture an accurate snapshot of your facility at a single point in time, effectively freezing your operational variables to eliminate noise. If you do not have a robust physical count to anchor your audit, you are essentially shooting in the dark, and any subsequent adjustments you make to your Shopify records will be based on conjecture rather than objective truth.
Best practices for the physical count:
Scheduling — schedule the count during a low-activity window such as early morning or after the daily carrier cutoff.
Lockdown — freeze all inbound and outbound movement for the count period, or at minimum log any movement that happens during it.
Granularity — count by SKU, not product name; names vary across channels, but SKUs are the immutable identifier.
Dual verification — use two counters per zone and compare counts before officially recording the final tally.
Condition grading — document item condition by distinguishing between sellable, unsellable, and quarantined units separately.
Neutral recording — record results in a neutral spreadsheet rather than directly into Shopify to prevent premature and unverified changes.
If you have multiple locations — warehouse, retail, 3PL — run counts simultaneously where possible to avoid stock moving between locations mid-count. This synchronous approach prevents double-counting or missing inventory that is currently in transit between your storage nodes or storefronts.
Stage 2: System — Pull Your Shopify Inventory Data
Export your current Shopify inventory snapshot before making any adjustments. This creates a paper trail and gives you a clean comparison baseline. By preserving this state, you ensure that you can account for any delta that occurs between the time you started the audit and when you finalize the adjustments in your database. This archival practice is crucial for audit compliance and provides the necessary documentation should you need to troubleshoot why certain discrepancies occurred during your internal review.
To export from Shopify:
Go to Products → Inventory → Export and download the CSV. This gives you on-hand quantities per SKU per location. If you use a 3PL that syncs to Shopify, pull their system report separately. Compare the 3PL's reported quantities against what Shopify shows — if these don't match before you've even compared to the physical count, you have a sync problem that needs fixing independently. Cross-reference fields to include in your comparison spreadsheet:
SKU identifier — the universal key for your product data.
Product name — for quick human reference during reconciliation.
Shopify on-hand — the current quantity reported per location.
3PL/WMS quantity — external system figures to identify sync drift.
Physical count — the verified baseline you gathered in Stage 1.
Variance quantity — the net difference calculated as (Physical minus Shopify).
Variance value — the financial impact calculated as (Variance × unit cost).
Sort by variance value, not just variance quantity. A discrepancy of 5 units matters differently depending on whether those units cost £2 or £200 each. Prioritizing by value ensures you address the most significant financial risks to your brand first.
Stage 3: Root Cause — Investigate Before Adjusting
This stage is where most brands cut corners. They find a variance and immediately update Shopify. That fixes the number but not the process, which means the discrepancy returns next quarter. By pausing to perform a deep-dive investigation into the origins of each significant variance, you transform a mundane maintenance task into an intelligence-gathering operation. This proactive step helps identify systemic flaws in your receiving workflows, return-to-stock protocols, or even third-party integration settings that are silently eroding your operational efficiency.
For each material variance (define a threshold — e.g. any variance over £50 in cost value), ask:
Return analysis — was this item involved in a recent return, and was it physically restocked into the system correctly?
Receiving history — were there any shipments in the past 90 days that might have been logged with incorrect quantities?
Bundle logic — does this SKU have a bundle or kit association where component tracking might be miscounting?
Manual adjustment audit — has this SKU been manually adjusted in Shopify recently, and is there a trail of who authorized it?
App connectivity — is there a third-party app such as a subscription, ERP, or inventory tool making automated adjustments?
Shopify logs manual inventory adjustments under Products → Inventory → History for individual SKUs. Use this to trace recent changes. Root cause findings should be documented in a variance log — a running record of what caused each discrepancy, not just the number fix. This log becomes the operational intelligence that prevents recurrence.
Stage 4: Decision — Adjust, Investigate Further, or Write Off
Once root causes are documented, each variance needs a disposition. This step ensures that you are not just updating numbers, but actively refining the health of your inventory system. By applying consistent logic to how you handle discrepancies—whether through reconciliation, further investigation, or financial write-offs—you create a defensible and clear accounting trail. This structured decision-making process is essential for maintaining trust in your data, especially if you have to present your inventory performance metrics to stakeholders or investors.
When making adjustments, use the following dispositions:
Adjust Shopify — perform this when the physical count is fully verified and the root cause has been clearly established.
Investigate further — tag large, unexplained variances or high-value SKUs for a second review before committing changes.
Write off — confirm units as permanently lost, damaged, or stolen where no recovery or further investigation is feasible.
When making adjustments in Shopify, always use the reason field in the inventory adjustment screen. Consistent use of reason codes (receiving error, return processing, damage write-off, etc.) creates audit-ready records and makes future reconciliations faster. Bulk adjustments can be made via CSV import under Products → Inventory → Import, which is faster than updating SKUs individually when you're working with large catalogs, provided your import file is properly formatted to match the existing system requirements.
How Often Should D2C Brands Run a Shopify Inventory Audit?
Frequency depends on your volume, SKU count, and operational complexity. Implementing a set cadence prevents the accumulation of phantom inventory, which becomes exponentially harder to resolve as it piles up over time. A proactive audit schedule serves as a critical defense against the operational drift that inevitably occurs in high-growth environments where speed is prioritized.
Recommended audit intervals:
Quarterly — perform a full physical count and Shopify reconciliation at a minimum for all operations.
Monthly — scale to monthly if you are doing significant volume or managing multi-location fulfillment complexity.
Weekly/Bi-weekly — perform cycle counts (rotating subset of SKUs) focusing specifically on high-velocity or high-value items.
Continuous — conduct weekly system-level reconciliation between Shopify and your 3PL or ERP, preferably via automated syncing tools.
High-discrepancy categories — returns, kits and bundles, multi-location stock — warrant more frequent spot checks regardless of your standard cadence. Regular monitoring keeps these volatile categories under control and prevents them from skewing your overall inventory accuracy metrics.
Common Mistakes in Shopify Inventory Reconciliation
Many operators struggle with inventory accuracy because they treat the process as a static accounting event rather than a dynamic operational workflow. By failing to integrate the audit into your standard business processes, you end up treating the symptoms rather than the disease. Avoiding these common traps is essential to ensuring that your audit efforts actually produce the accuracy you desire, rather than just providing a temporary and superficial fix to your stock levels.
Adjusting Shopify Without Verifying the Physical Count First
The most common error. If your physical count was rushed, improperly documented, or didn't cover all locations, adjusting Shopify to match it locks in bad data — not accurate data. You must ensure that your physical baseline is absolutely ironclad before you overwrite the digital record, as errors made during the physical count will simply migrate into your digital database, effectively polluting your inventory system for the next reporting period.
Using Product Names Instead of SKUs
Product names in Shopify are inconsistent across variants, bundles, and historical edits. SKUs are the only reliable unique identifier for reconciliation. Build every comparison around SKUs to ensure that you are mapping the right items across your systems. Relying on names leads to confusion between similar items and significantly complicates the process of tracking individual stock movements across your catalog.
Ignoring App-Driven Inventory Changes
Subscription apps, ERP connectors, and inventory management tools can write adjustments to Shopify automatically. If you don't audit which apps have inventory write permissions and what they're doing, your reconciliation will fight a moving target. Review app permissions under Settings → Apps and sales channels and confirm which third-party tools are allowed to adjust inventory to maintain control over your data stream.
Treating Reconciliation as a One-Time Fix
A single audit clears the backlog but doesn't solve the underlying process. Without improved receiving procedures, return restocking workflows, and documented adjustment protocols, the same variances recur. The root cause stage of the SSRD framework exists precisely because the number fix and the process fix are two separate things; you must prioritize the process fix to ensure long-term stability.
Conflating Available and Committed Inventory
Shopify distinguishes between inventory on hand, committed (allocated to open orders), and available (on hand minus committed). Reconciliation should focus on on-hand figures to match the physical count — not available figures, which will differ if there are open unfulfilled orders. Confusing these two metrics will result in incorrect adjustment calculations and potential misrepresentation of your true stock levels during an audit.
The Shopify Inventory Audit Checklist
Use this before, during, and after every reconciliation cycle to ensure nothing is missed. This standardized approach keeps your team aligned and ensures that the audit follows a rigorous methodology regardless of who is performing the tasks on the floor or in the backend.
Before the Count — freeze or log all inventory movement during the count window, pull and save the Shopify inventory CSV, pull 3PL reports, prepare count sheets by SKU, and brief all counters on SKU-level counting.
During the Count — count every location included in Shopify tracking, record sellable/unsellable/quarantined units separately, use two-counter verification for high-value zones, and log any movement that occurs during the process.
After the Count — build a comparison spreadsheet (physical vs Shopify vs 3PL), sort by variance value, investigate material discrepancies, document findings in a variance log, adjust Shopify with reason codes, and update SOPs based on your findings.
A Shopify inventory audit is one of the most important — and most avoided — tasks in D2C operations. When your physical stock count and your Shopify numbers don't match, everything downstream gets distorted: fulfillment accuracy, reorder timing, revenue forecasting, and customer experience all take a hit. By neglecting this critical operational cadence, brands often find themselves plagued by chronic overselling, stockouts on top-sellers, and unexpected budget gaps that complicate financial reporting. This guide walks through a practical, repeatable process for reconciling physical stock with Shopify records. No guesswork, no manual chaos. Just a clear framework you can run quarterly or whenever your numbers stop adding up. Establishing this baseline is the foundation of high-growth operations, ensuring that your digital storefront always reflects the tangible reality of your warehouse or retail floor.
Why Shopify Inventory Numbers Drift From Physical Reality
Shopify tracks inventory based on transactions — sales, returns, manual adjustments, and third-party app syncs. The problem is that physical stock is messier than any system expects. Because retail environments are subject to human error, environmental factors, and complex supply chain logistics, the data input into your system often lags behind the physical state of your inventory. Relying purely on automated logs without periodic human-led validation creates a data-reality gap that widens significantly over time, especially as transaction volume scales across multiple sales channels.
Common sources of discrepancy include:
Unlogged receiving errors — items received but not scanned in during high-volume intake periods.
Returns processing failures — items processed in Shopify but not physically restocked or categorized as sellable.
Informal write-offs — damaged or lost items written off informally without generating a corresponding adjustment record.
App sync conflicts — data collisions between Shopify and a 3PL, ERP, or specialized inventory management tool.
Manual override errors — inventory adjustments made in the backend without proper documentation or intent.
Shrinkage and theft — loss events that physically deplete stock without triggering a corresponding system update.
Complex bundle mapping — scenarios where component-level stock isn't decremented correctly when a bundle is sold.
None of these are unusual. They accumulate. A brand doing reasonable volume can end up with hundreds of units of phantom inventory — stock Shopify thinks exists but physically doesn't — or ghost stock, which is inventory on the shelf with no corresponding Shopify record. Both types will cost you, just in different ways. Phantom inventory results in order cancellations and negative customer sentiment, while ghost stock results in lost revenue opportunities and potential warehouse space mismanagement.
The SSRD Audit Framework: A Four-Stage Reconciliation Process
The SSRD Audit Framework is a structured approach to Shopify inventory reconciliation built for D2C operators who need accuracy without weeks of disruption. By compartmentalizing the audit into distinct stages, you ensure that every data point is verified before an adjustment is finalized, thereby maintaining a pristine historical ledger. This methodology moves from discovery to execution, ensuring you address the symptoms of your inventory management issues while systematically working to resolve the underlying process failures that allowed them to occur.
The four stages are: Stock → System → Root Cause → Decision.
Stage 1: Stock — Run a Full Physical Count
Before touching Shopify, count what you actually have. A system reconciliation without a verified physical baseline is just rearranging numbers. This initial phase requires rigorous discipline to capture an accurate snapshot of your facility at a single point in time, effectively freezing your operational variables to eliminate noise. If you do not have a robust physical count to anchor your audit, you are essentially shooting in the dark, and any subsequent adjustments you make to your Shopify records will be based on conjecture rather than objective truth.
Best practices for the physical count:
Scheduling — schedule the count during a low-activity window such as early morning or after the daily carrier cutoff.
Lockdown — freeze all inbound and outbound movement for the count period, or at minimum log any movement that happens during it.
Granularity — count by SKU, not product name; names vary across channels, but SKUs are the immutable identifier.
Dual verification — use two counters per zone and compare counts before officially recording the final tally.
Condition grading — document item condition by distinguishing between sellable, unsellable, and quarantined units separately.
Neutral recording — record results in a neutral spreadsheet rather than directly into Shopify to prevent premature and unverified changes.
If you have multiple locations — warehouse, retail, 3PL — run counts simultaneously where possible to avoid stock moving between locations mid-count. This synchronous approach prevents double-counting or missing inventory that is currently in transit between your storage nodes or storefronts.
Stage 2: System — Pull Your Shopify Inventory Data
Export your current Shopify inventory snapshot before making any adjustments. This creates a paper trail and gives you a clean comparison baseline. By preserving this state, you ensure that you can account for any delta that occurs between the time you started the audit and when you finalize the adjustments in your database. This archival practice is crucial for audit compliance and provides the necessary documentation should you need to troubleshoot why certain discrepancies occurred during your internal review.
To export from Shopify:
Go to Products → Inventory → Export and download the CSV. This gives you on-hand quantities per SKU per location. If you use a 3PL that syncs to Shopify, pull their system report separately. Compare the 3PL's reported quantities against what Shopify shows — if these don't match before you've even compared to the physical count, you have a sync problem that needs fixing independently. Cross-reference fields to include in your comparison spreadsheet:
SKU identifier — the universal key for your product data.
Product name — for quick human reference during reconciliation.
Shopify on-hand — the current quantity reported per location.
3PL/WMS quantity — external system figures to identify sync drift.
Physical count — the verified baseline you gathered in Stage 1.
Variance quantity — the net difference calculated as (Physical minus Shopify).
Variance value — the financial impact calculated as (Variance × unit cost).
Sort by variance value, not just variance quantity. A discrepancy of 5 units matters differently depending on whether those units cost £2 or £200 each. Prioritizing by value ensures you address the most significant financial risks to your brand first.
Stage 3: Root Cause — Investigate Before Adjusting
This stage is where most brands cut corners. They find a variance and immediately update Shopify. That fixes the number but not the process, which means the discrepancy returns next quarter. By pausing to perform a deep-dive investigation into the origins of each significant variance, you transform a mundane maintenance task into an intelligence-gathering operation. This proactive step helps identify systemic flaws in your receiving workflows, return-to-stock protocols, or even third-party integration settings that are silently eroding your operational efficiency.
For each material variance (define a threshold — e.g. any variance over £50 in cost value), ask:
Return analysis — was this item involved in a recent return, and was it physically restocked into the system correctly?
Receiving history — were there any shipments in the past 90 days that might have been logged with incorrect quantities?
Bundle logic — does this SKU have a bundle or kit association where component tracking might be miscounting?
Manual adjustment audit — has this SKU been manually adjusted in Shopify recently, and is there a trail of who authorized it?
App connectivity — is there a third-party app such as a subscription, ERP, or inventory tool making automated adjustments?
Shopify logs manual inventory adjustments under Products → Inventory → History for individual SKUs. Use this to trace recent changes. Root cause findings should be documented in a variance log — a running record of what caused each discrepancy, not just the number fix. This log becomes the operational intelligence that prevents recurrence.
Stage 4: Decision — Adjust, Investigate Further, or Write Off
Once root causes are documented, each variance needs a disposition. This step ensures that you are not just updating numbers, but actively refining the health of your inventory system. By applying consistent logic to how you handle discrepancies—whether through reconciliation, further investigation, or financial write-offs—you create a defensible and clear accounting trail. This structured decision-making process is essential for maintaining trust in your data, especially if you have to present your inventory performance metrics to stakeholders or investors.
When making adjustments, use the following dispositions:
Adjust Shopify — perform this when the physical count is fully verified and the root cause has been clearly established.
Investigate further — tag large, unexplained variances or high-value SKUs for a second review before committing changes.
Write off — confirm units as permanently lost, damaged, or stolen where no recovery or further investigation is feasible.
When making adjustments in Shopify, always use the reason field in the inventory adjustment screen. Consistent use of reason codes (receiving error, return processing, damage write-off, etc.) creates audit-ready records and makes future reconciliations faster. Bulk adjustments can be made via CSV import under Products → Inventory → Import, which is faster than updating SKUs individually when you're working with large catalogs, provided your import file is properly formatted to match the existing system requirements.
How Often Should D2C Brands Run a Shopify Inventory Audit?
Frequency depends on your volume, SKU count, and operational complexity. Implementing a set cadence prevents the accumulation of phantom inventory, which becomes exponentially harder to resolve as it piles up over time. A proactive audit schedule serves as a critical defense against the operational drift that inevitably occurs in high-growth environments where speed is prioritized.
Recommended audit intervals:
Quarterly — perform a full physical count and Shopify reconciliation at a minimum for all operations.
Monthly — scale to monthly if you are doing significant volume or managing multi-location fulfillment complexity.
Weekly/Bi-weekly — perform cycle counts (rotating subset of SKUs) focusing specifically on high-velocity or high-value items.
Continuous — conduct weekly system-level reconciliation between Shopify and your 3PL or ERP, preferably via automated syncing tools.
High-discrepancy categories — returns, kits and bundles, multi-location stock — warrant more frequent spot checks regardless of your standard cadence. Regular monitoring keeps these volatile categories under control and prevents them from skewing your overall inventory accuracy metrics.
Common Mistakes in Shopify Inventory Reconciliation
Many operators struggle with inventory accuracy because they treat the process as a static accounting event rather than a dynamic operational workflow. By failing to integrate the audit into your standard business processes, you end up treating the symptoms rather than the disease. Avoiding these common traps is essential to ensuring that your audit efforts actually produce the accuracy you desire, rather than just providing a temporary and superficial fix to your stock levels.
Adjusting Shopify Without Verifying the Physical Count First
The most common error. If your physical count was rushed, improperly documented, or didn't cover all locations, adjusting Shopify to match it locks in bad data — not accurate data. You must ensure that your physical baseline is absolutely ironclad before you overwrite the digital record, as errors made during the physical count will simply migrate into your digital database, effectively polluting your inventory system for the next reporting period.
Using Product Names Instead of SKUs
Product names in Shopify are inconsistent across variants, bundles, and historical edits. SKUs are the only reliable unique identifier for reconciliation. Build every comparison around SKUs to ensure that you are mapping the right items across your systems. Relying on names leads to confusion between similar items and significantly complicates the process of tracking individual stock movements across your catalog.
Ignoring App-Driven Inventory Changes
Subscription apps, ERP connectors, and inventory management tools can write adjustments to Shopify automatically. If you don't audit which apps have inventory write permissions and what they're doing, your reconciliation will fight a moving target. Review app permissions under Settings → Apps and sales channels and confirm which third-party tools are allowed to adjust inventory to maintain control over your data stream.
Treating Reconciliation as a One-Time Fix
A single audit clears the backlog but doesn't solve the underlying process. Without improved receiving procedures, return restocking workflows, and documented adjustment protocols, the same variances recur. The root cause stage of the SSRD framework exists precisely because the number fix and the process fix are two separate things; you must prioritize the process fix to ensure long-term stability.
Conflating Available and Committed Inventory
Shopify distinguishes between inventory on hand, committed (allocated to open orders), and available (on hand minus committed). Reconciliation should focus on on-hand figures to match the physical count — not available figures, which will differ if there are open unfulfilled orders. Confusing these two metrics will result in incorrect adjustment calculations and potential misrepresentation of your true stock levels during an audit.
The Shopify Inventory Audit Checklist
Use this before, during, and after every reconciliation cycle to ensure nothing is missed. This standardized approach keeps your team aligned and ensures that the audit follows a rigorous methodology regardless of who is performing the tasks on the floor or in the backend.
Before the Count — freeze or log all inventory movement during the count window, pull and save the Shopify inventory CSV, pull 3PL reports, prepare count sheets by SKU, and brief all counters on SKU-level counting.
During the Count — count every location included in Shopify tracking, record sellable/unsellable/quarantined units separately, use two-counter verification for high-value zones, and log any movement that occurs during the process.
After the Count — build a comparison spreadsheet (physical vs Shopify vs 3PL), sort by variance value, investigate material discrepancies, document findings in a variance log, adjust Shopify with reason codes, and update SOPs based on your findings.
FAQs
Web Personalisation
Framer is a design tool that allows you to design websites on a freeform canvas, and then publish them as websites with a single click.
UI and UX Design
Framer is a design tool that allows you to design websites on a freeform canvas, and then publish them as websites with a single click.
Search Engine Optimisation
Framer is a design tool that allows you to design websites on a freeform canvas, and then publish them as websites with a single click.
CRM and ERP Solutions
Framer is a design tool that allows you to design websites on a freeform canvas, and then publish them as websites with a single click.
Ecommerce
Framer is a design tool that allows you to design websites on a freeform canvas, and then publish them as websites with a single click.
Email Marketing
Framer is a design tool that allows you to design websites on a freeform canvas, and then publish them as websites with a single click.
Marketing Automation
Framer is a design tool that allows you to design websites on a freeform canvas, and then publish them as websites with a single click.
Chatbots and Conversational AI
Framer is a design tool that allows you to design websites on a freeform canvas, and then publish them as websites with a single click.
Chatbots and Conversational AI
Framer is a design tool that allows you to design websites on a freeform canvas, and then publish them as websites with a single click.
Related Blogs
We know your space
Explore our latest UI/UX Case Studies that showcase how our process-driven creativity transforms complex ideas into real, measurable business results, step by step.

AI and Data Analytics
•
Aug 19, 2026
Context Engineering for Enterprise AI Agents: Memory, Retrieval, Tools and State Management

AI and Data Analytics
•
Aug 19, 2026
Enterprise RAG vs Agentic RAG vs AI Search: Which Architecture Should You Build?

AI and Data Analytics
•
Aug 19, 2026
Enterprise Semantic Layer for AI Agents: How to Produce Trusted Business Answers
Let's work together
Have a project in mind?
Let's make it real.
Tell us what you're building. We'll bring the design, technology, and thinking to make it happen.
Fill up the following form to start a conversation
with our team
Let's work together
Have a project in mind?
Let's make it real.
Tell us what you're building. We'll bring the design, technology, and thinking to make it happen.
Fill up the following form to start a conversation with our team
Let's work together
Have a project in mind?
Let's make it real.
Tell us what you're building. We'll bring the design, technology, and thinking to make it happen.
Fill up the following form to start a conversation
with our team
Services
Services
© 2026 projectsupply
Part of Tangle
Services
© 2026 projectsupply
Part of Tangle